
"The Birthday Girls"
4 x 4 & 6 x 6 canvas collages
Wanna see the process? Oh good. 'Cause I took pictures along the way just in case. Ready? Here we go:

Step 1: Gather supplies including a group of original drawings and tiny blank canvases
Step 2: make color photo copies of some of your favorite images or sketches

Step 3: apply Gesso to canvases with a flexible palette knife

Step 4: find some of your favorite spray inks.

Step 5: ink away and dry throughly.

Step 6: apply heavy-bodied acrylics or acrylic Gouache to bits of your canvases.

Step 7: adhere some of your favorite collage materials to the canvases.
(Included here are decorative napkins, tissue paper and candy wrappers).

Step 8: spray / splatter some acrylic paints to the surface of your collages

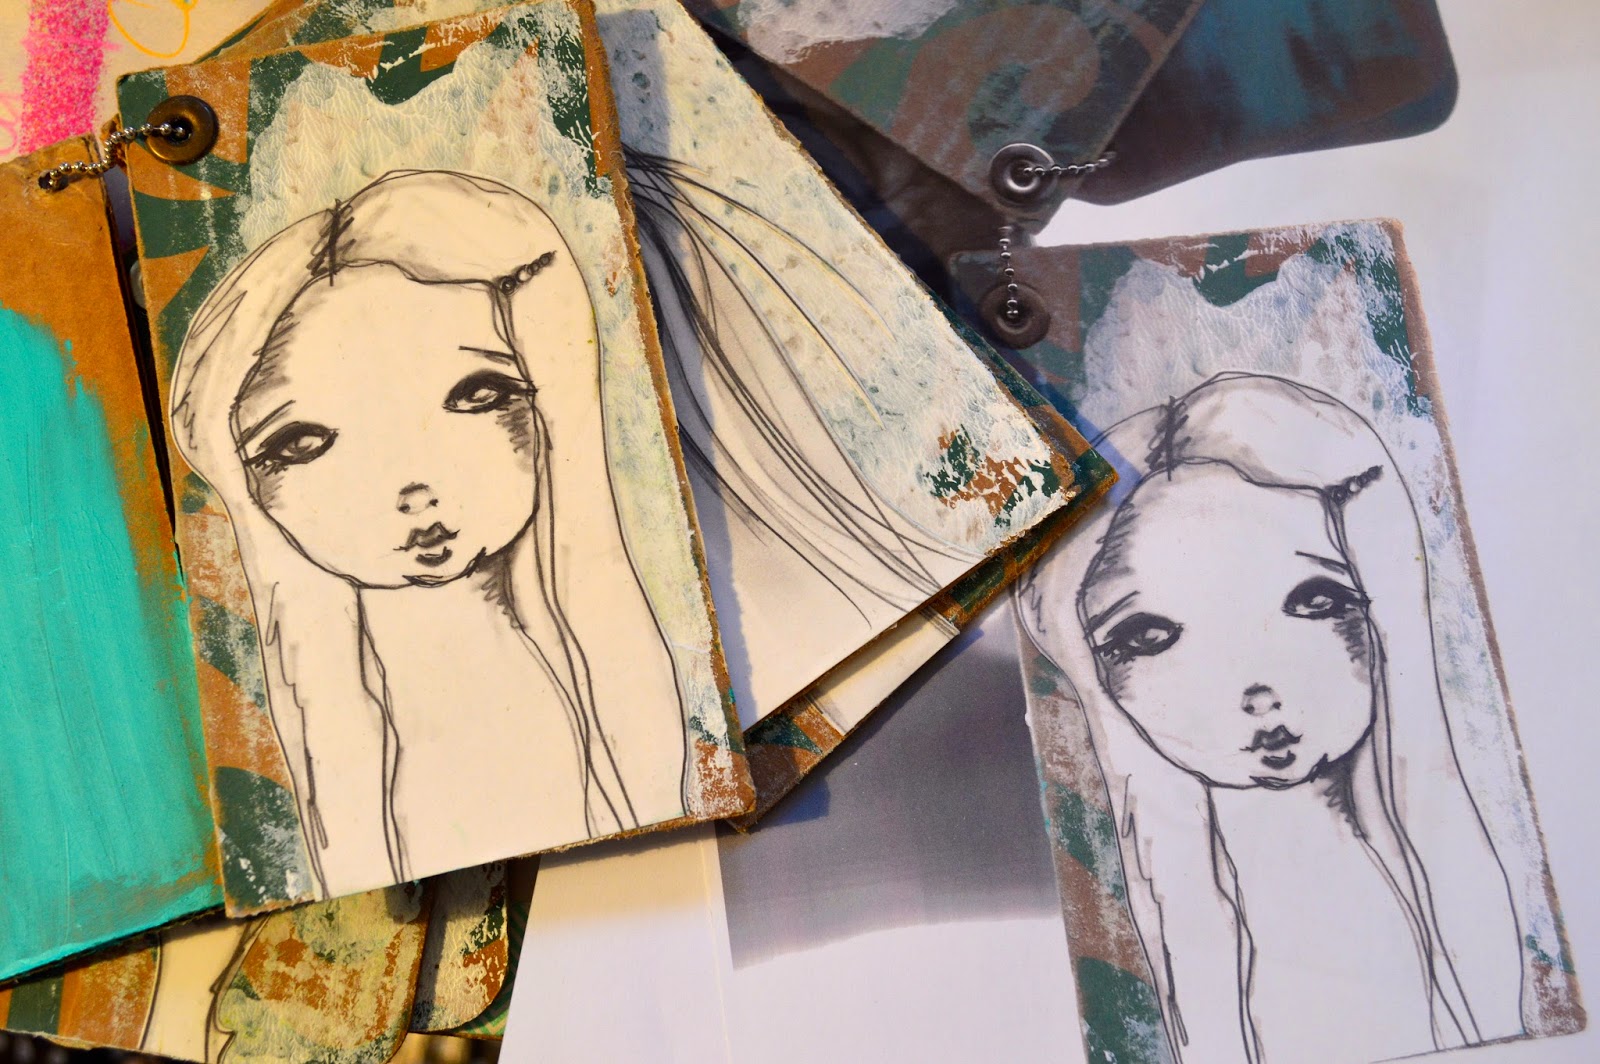
Step 9: carefully cut out your colored copies and then fortify the lines with a black ink pen.

Step 10: glue your images to your collaged canvases

Step 11: add final touches including confetti stars, liquid shimmer (acrylic ink) and Stickles glitter.

(Close Up)

Step 12: add color to the edges of your canvases with oil pastels smudged with your finger.

And there we have it: 5 little thank yous all lined up in a row. It was fun, fast and guess what? Actually complete. Yay, Me!
Wanna try it? If you do, please let me know: I'd love to see what you come up with!
To Love, Art & Getting Things Done,
Kristin xo
11 comments:
Awesome, awesome, awesome! Amazing backgrounds for the fabulous image - I love them! xxx
Thanks for the tutorial! And happy belated birthday!
these are utterly fantastic Kristin!! Thanks for sharing the process-what lucky friends to get one of these:) And a very happy belated birthday to you!
Bonjour,
Mes félicitations ! Un grand merci pour le partage de l'évolution de votre travail.
Avec un peu de retard, je vous souhaite un joyeux anniversaire.
❀ ✺ Gros bisous ✺ ❀
Beautiful work, they all look so fun! Hugs, Valerie
What a clear and concise tutorial, I even think that I may be able to do one, so I have book marked it for 'one day'. I have two canvases that I have had about a year now, but no nerves to use them yet, haha. Maybe this will be the one? Who knows. It sounds like you had a birthday to remember and what a fabulous way to spend it, a sleepover with your besties! Belated Happy Birthday wishes to you Kristin {Hugs} xo
Absolutely ADORABLE! I am going to try these:) And that bubble gum wrapper...genius!
Oooooh, color and spray inks and cool drawings!
Birthday girls? Nifty. I will be one of those tomorrow. I will be seventy. Seventy? Seventy. It's a pretty big number, but then it's ONLY a number!
Lucky friends receiving these, they're darling!
Loving your hand drawn girl with her hair up, she is adorable Kristin!!! So glad you shared your perfect pressies for your Friends, i think you might have started a trend :-) xxx
Hello greetings and good wishes.
Simple easy to understand step by step tutorial. The outcome is amazing.
Best wishes
Post a Comment